
Azure DevOps Release Pipeline for Dyn365FO - Part 1: Automated Package Upload & Deploy via LCS API
Part 1 of this series of Release Pipeline posts covers how to implement the LCS API for uploading and deploying a package from an Azure DevOps build, built for Dynamics 365 for Finance and Operations.
Prerequisites;
- An Azure DevOps project configured with code and builds
- A build definition and build agent generating and storing deployable packages in Azure DevOps
- An Azure Directory where you can register an Application
Step 1: Install the Dynamics 365 Unified Operations Tools
The Dynamics 365 Unified Operations Tools are an Azure DevOps Extension, published by Microsoft, and available on the Visual Studio Marketplace;
Already have the Tools Extension Installed? Skip to Step 2.
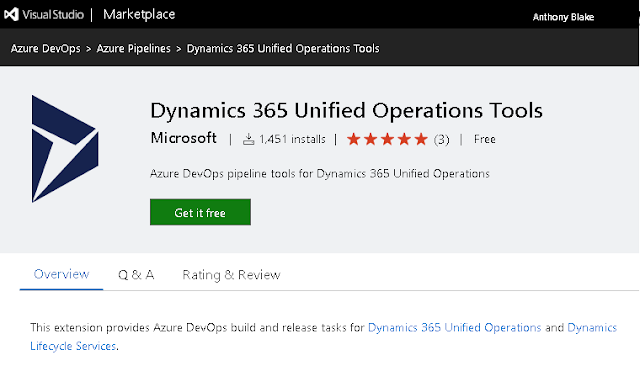
Visual Studio Marketplace
Click on get it free which will prompt you for which Azure DevOps organisation you want to download the extension to.
Once downloaded, the extension will appear in Azure DevOps in Organisation Settings -> Extensions.
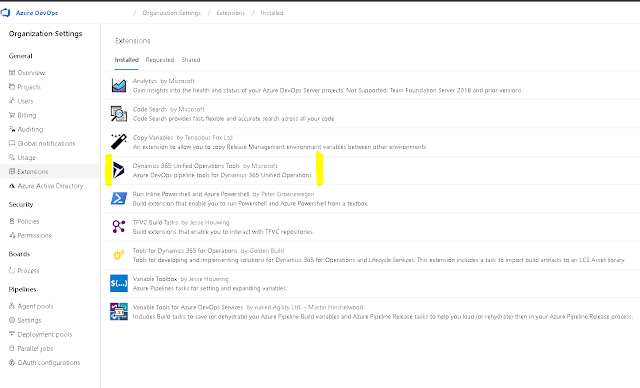
Azure DevOps Installed Extensions
Step 2: Create a Native App in Azure
To register the native app in Azure, browse to https://portal.azure.com and search for App Registrations in the search bar.
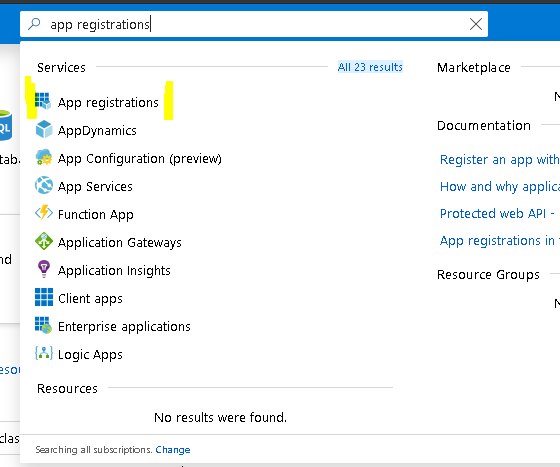
App Registrations
Create a Native App Registration and make a note (or more likely take a copy to clipboard/notepad) of the Application (client) ID.
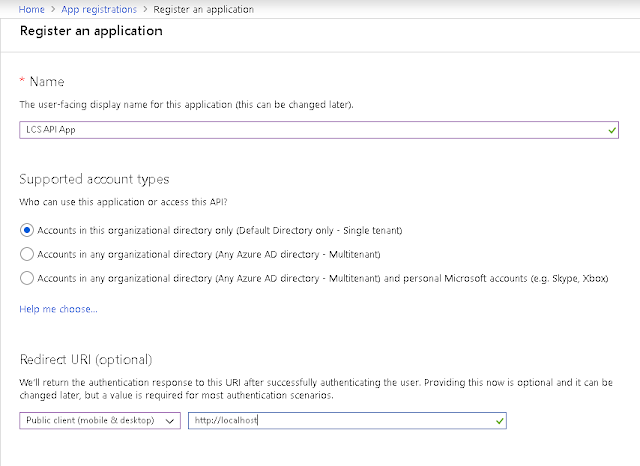
Register an Application in Azure
Once created, an API permission is required for your new App. Create a permission for Dynamics Lifecycle Services, delegated and check user_impersonation.
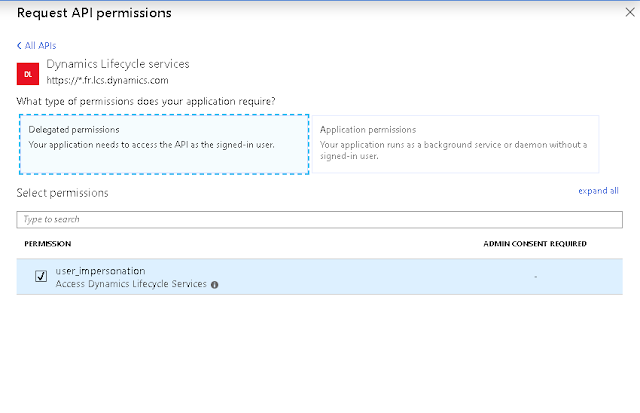
Request API Permissions in Azure
Azure App and API permission is now set to go. Note: Some people have reported issues creating a native app using the new Azure Directory interface. You may need to revert to the legacy interface to set the app to be native.
More information on setting up an Azure App is available here;
Step 3: Create a Service to connect to the Native App in Azure DevOps
Back in Azure DevOps, we now need to create a service to connect to the Native App Registration we just created.
Go into your Project, Project Settings, and under Pipelines click on Service Connections.
Click New service connection, and in the drop down select Dynamics Lifecycle Services.
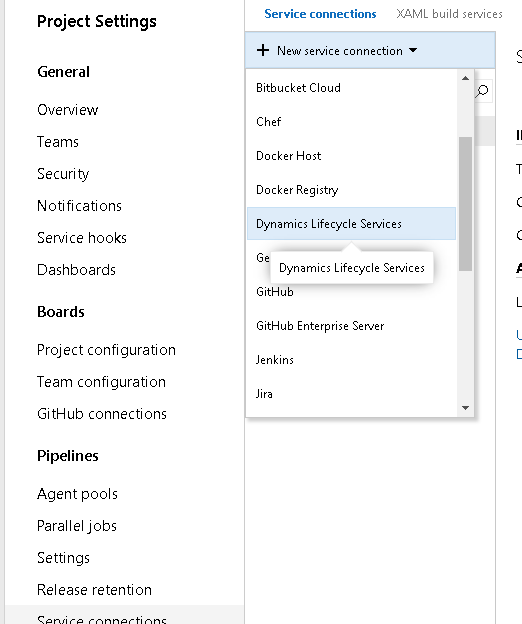
New Service Connection
Name your service connection, and enter the credentials you want to use to connect to LCS. This user must be an Environment Manager or Project Owner in LCS, and it would be advisable to use a generic service account.
You will also need to copy and paste in the Application ID created and noted in Azure in step 2.
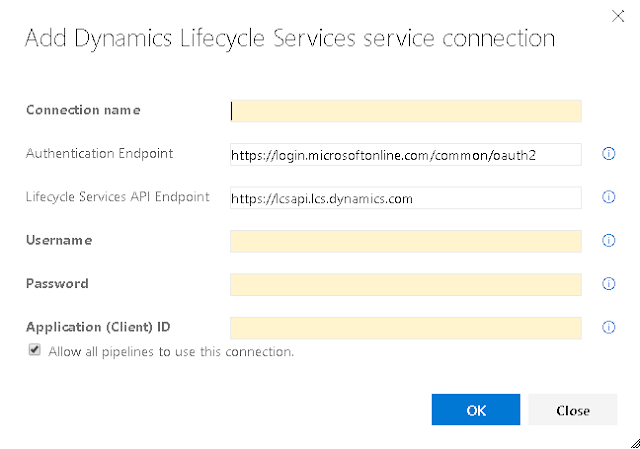
Create a New LCS Connection Dialog
The connection to LCS is complete. If everything is correct, we can now design the release pipeline to upload and apply our Deployable Package.
Step 4: Create a Release Schedule
In Azure DevOps, browse to Pipelines -> Releases, click on New Release Pipeline, and click Empty job.
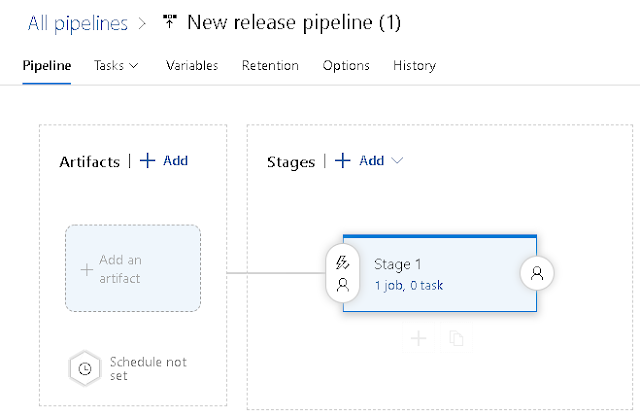
New empty Release Pipeline
In the artifacts section, click on Add an artifact. Select your project and Source. The source is the build pipeline to use to retrieve the deployable package from it’s artifacts. The default Source Alias can be simplified, here I used BuildMain.
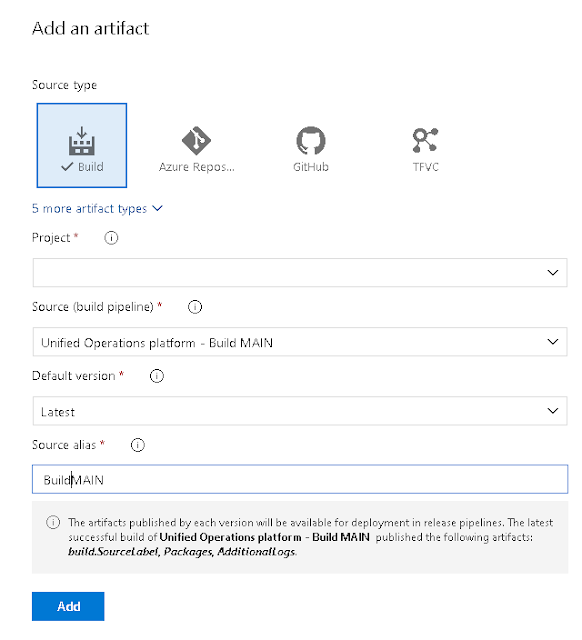
Adding an Artifact to the Release Pipeline
Click on Add to complete.
Step 5: Set the Steps
For this example, we are only creating a simple single stage upload and release.
In stage 1, click on the hyperlink for the jobs and tasks to open the task list for the stage.
Click on the + to add a task, and search for Dynamics Lifecycle Services. The upload and deploy tasks should appear in the results.
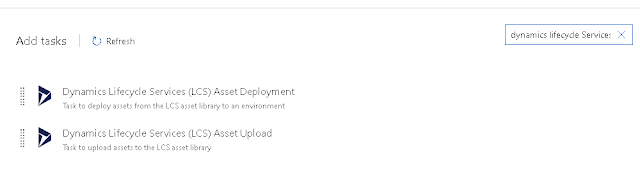
Add tasks search
Select the upload task firstly and add to your stage.
The name will auto complete but change it if needed.
Select the LCS connection we created earlier in Step 3.
Complete the LCS project ID. The easiest way to find this is to browse to your project in LCS and take the number from the end of the URL, for example;
https://lcs.dynamics.com/V2/ProjectOverview/1234567
The File to Upload field, browse to the location of your package. the location will look something like this;
$(System.DefaultWorkingDirectory)/BuildMAIN/Packages/AXDeployableRuntime_7.0.5286.35426_2019.8.14.1.zip
This will pick up the same selected build on every run of the release pipeline task. We need to replace the red text in the build above with a variable which represents the build number, and is the part of the filename which changes with every build.
The variable for the build number is $(Build.BuildNumber).
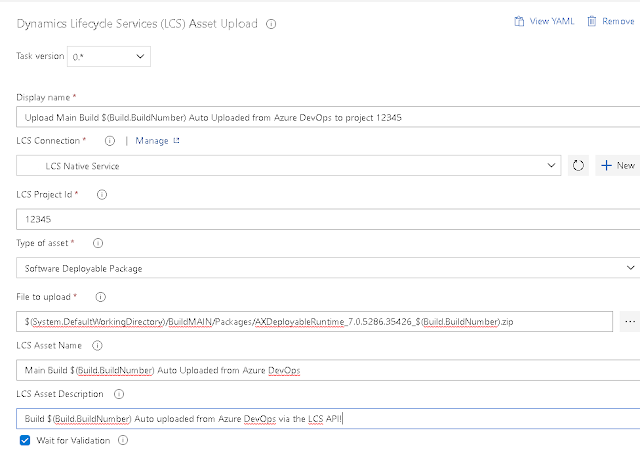
New LCS Upload Task Parameters
The Asset Name and Asset Descirption can be anything you want, but I find its a good idea to include the branch name, the build number variable again, and something to indicate it was auto uploaded from Azure DevOps.
The last step is to identify the the Output Variable from this new task. The LCS API returns a FileAssetId output variable which we can use when setting up the deploy task to identify which LCS asset we want to deploy. For this example, name the reference Upload.
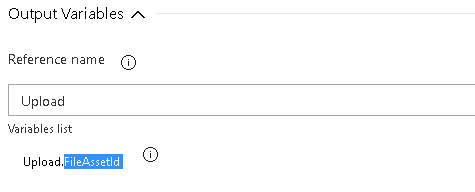
Upload Task Output Variables
Next click the + again to add a second Task. This time search again for Dynamics Lifecycle Services but select the Asset Deployment task and click Add.
Again, can leave the display name for now, it will auto generate. Select the same connection we created earlier and used in the upload task. Enter your LCS project ID.
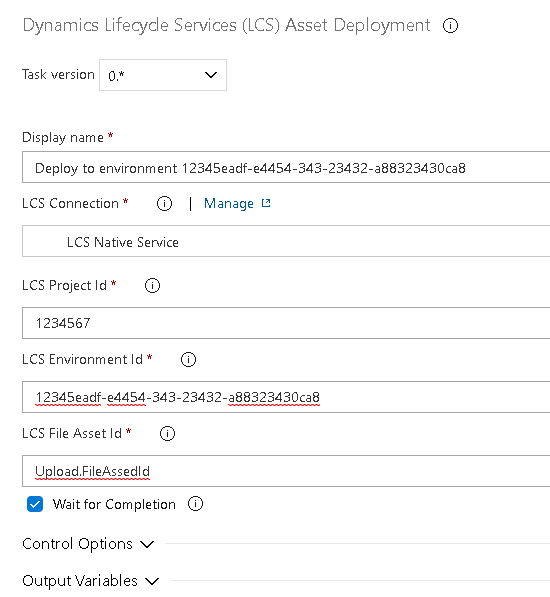
LCS Upload Task
Note: there is an error in the screenshot above - the Variable “LCS File Asset Id” should be $(Upload.FileAssetId) with the $ and brackets added to indicate a variable.
The first new field is LCS Environment Id. In LCS, click on the environment you wish to setup the deployment for to view its detailed information page. On there you will see an Environment Id.
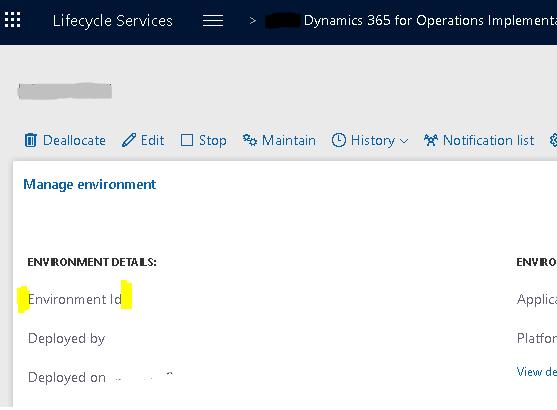
LCS Environment Id
In the LCS File Asset Id field we reference the asset Id we saved from the output variable in the upload task, $(Upload.FileAssetId).
Save the Release Pipeline!
Step 6: Run!
Back in the Release Pipelines screen, Click on Create Release and DevOps will trigger a release run straight away. If you click on the release definition, you can follow the outputs from the release as you do in the builds, and troubleshoot any issues.
Over in LCS, you should see your Deployable Package Land in the Asset Library, and your configured environment hit servicing status as the package is deployed.
Done. A deployment directly from Azure DevOps.